简介 #
Blowfish 添加了对 Firebase 的支持以在网站上使用动态数据.
配置方法 #
-
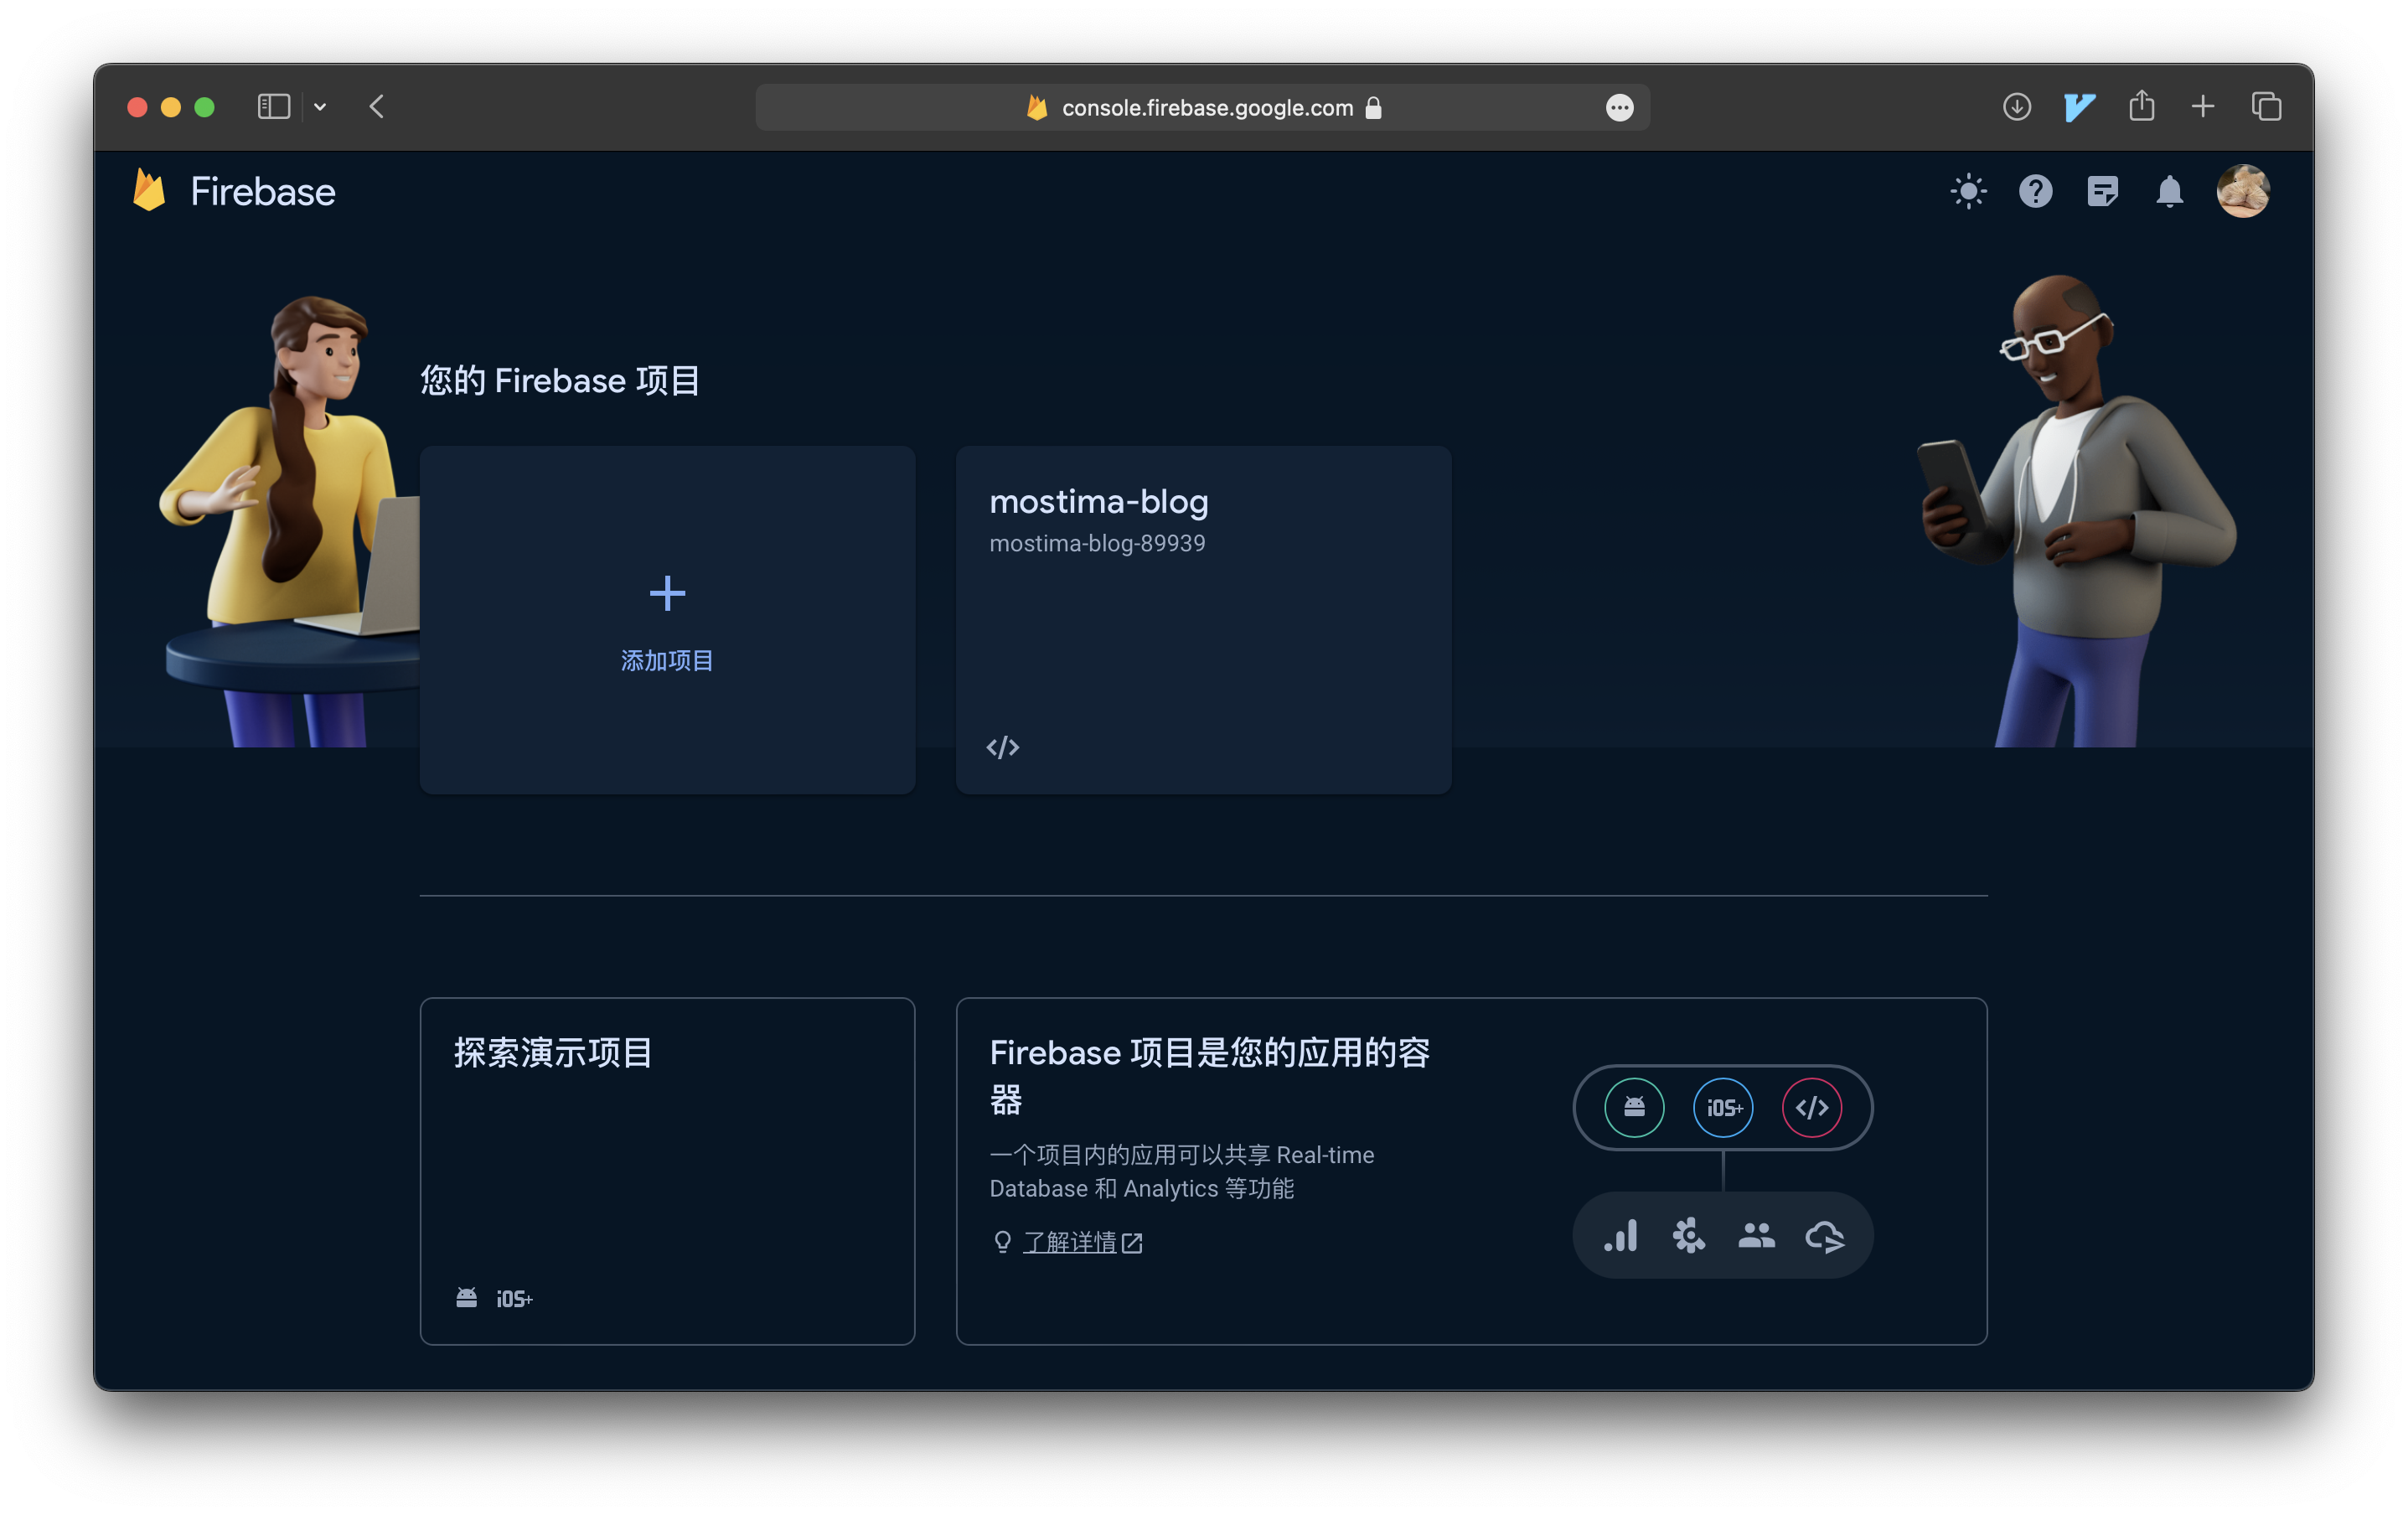
在 Firebase 官网免费注册一个账号
-
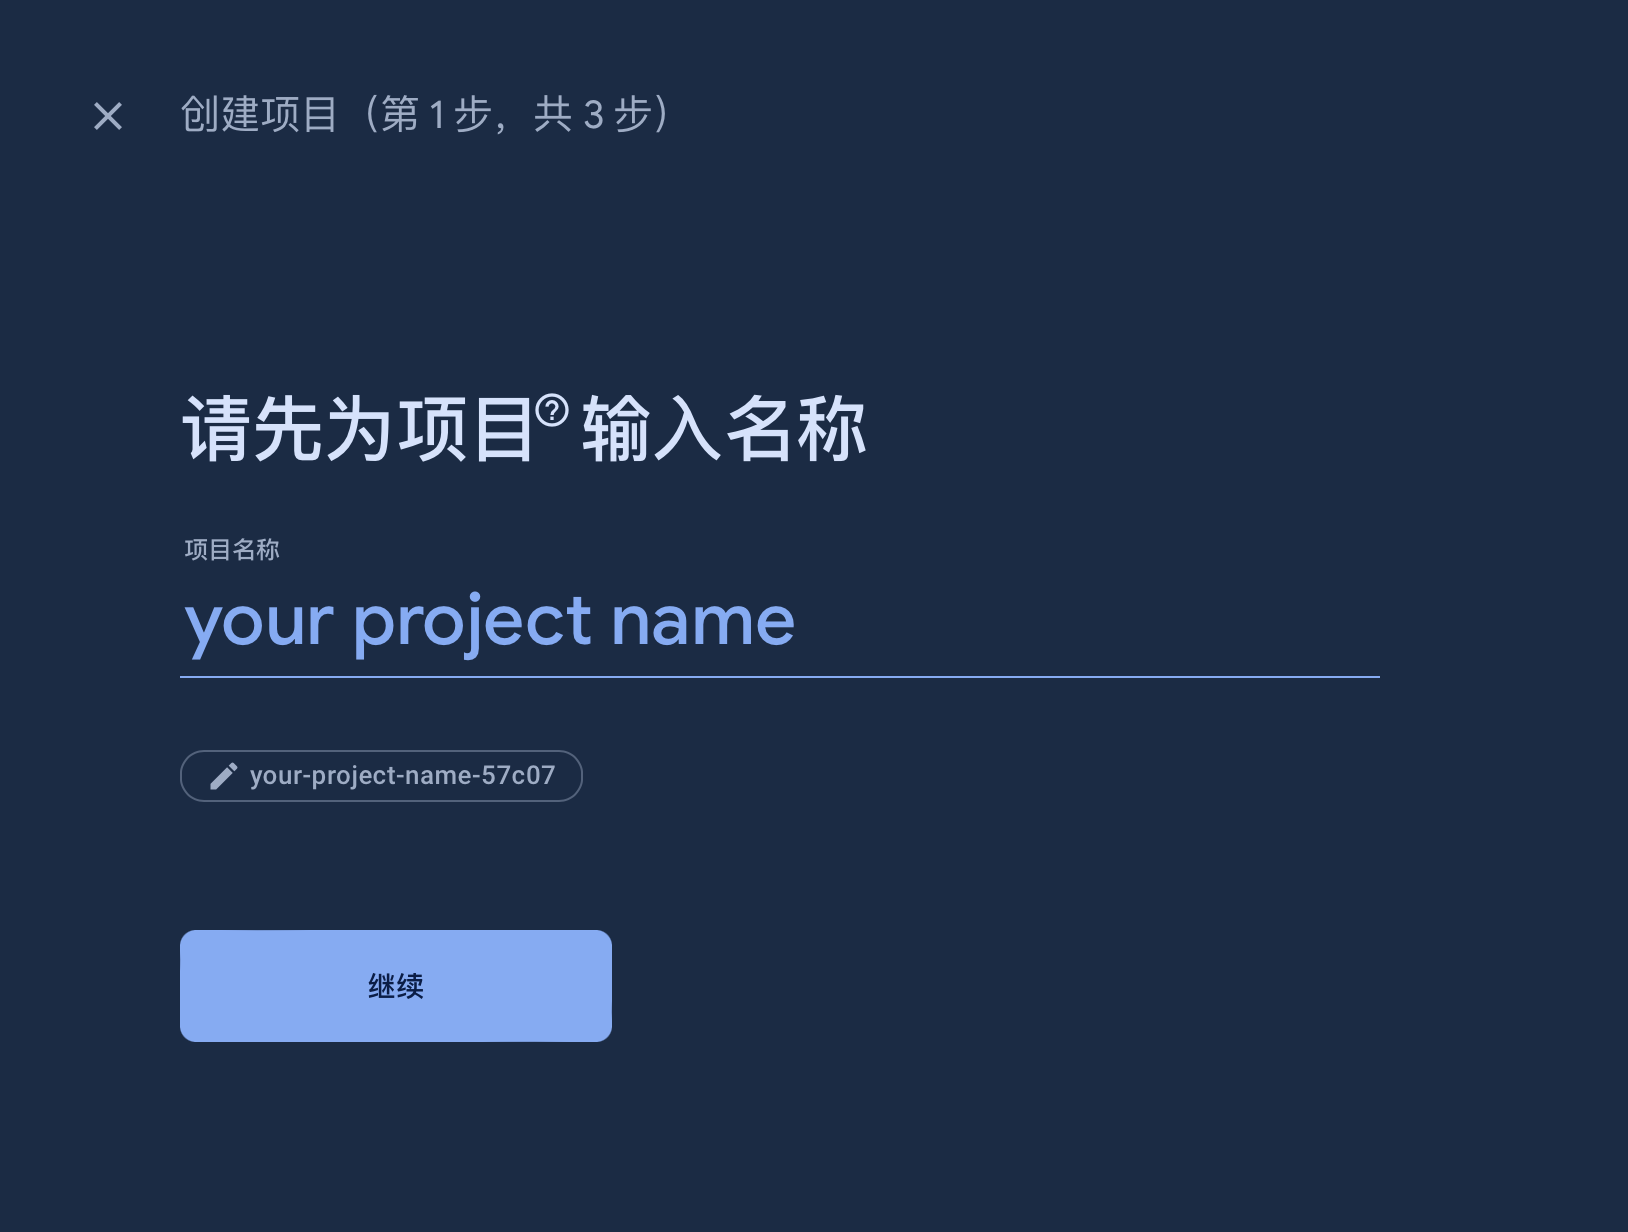
选择「添加项目」,输入项目名
-
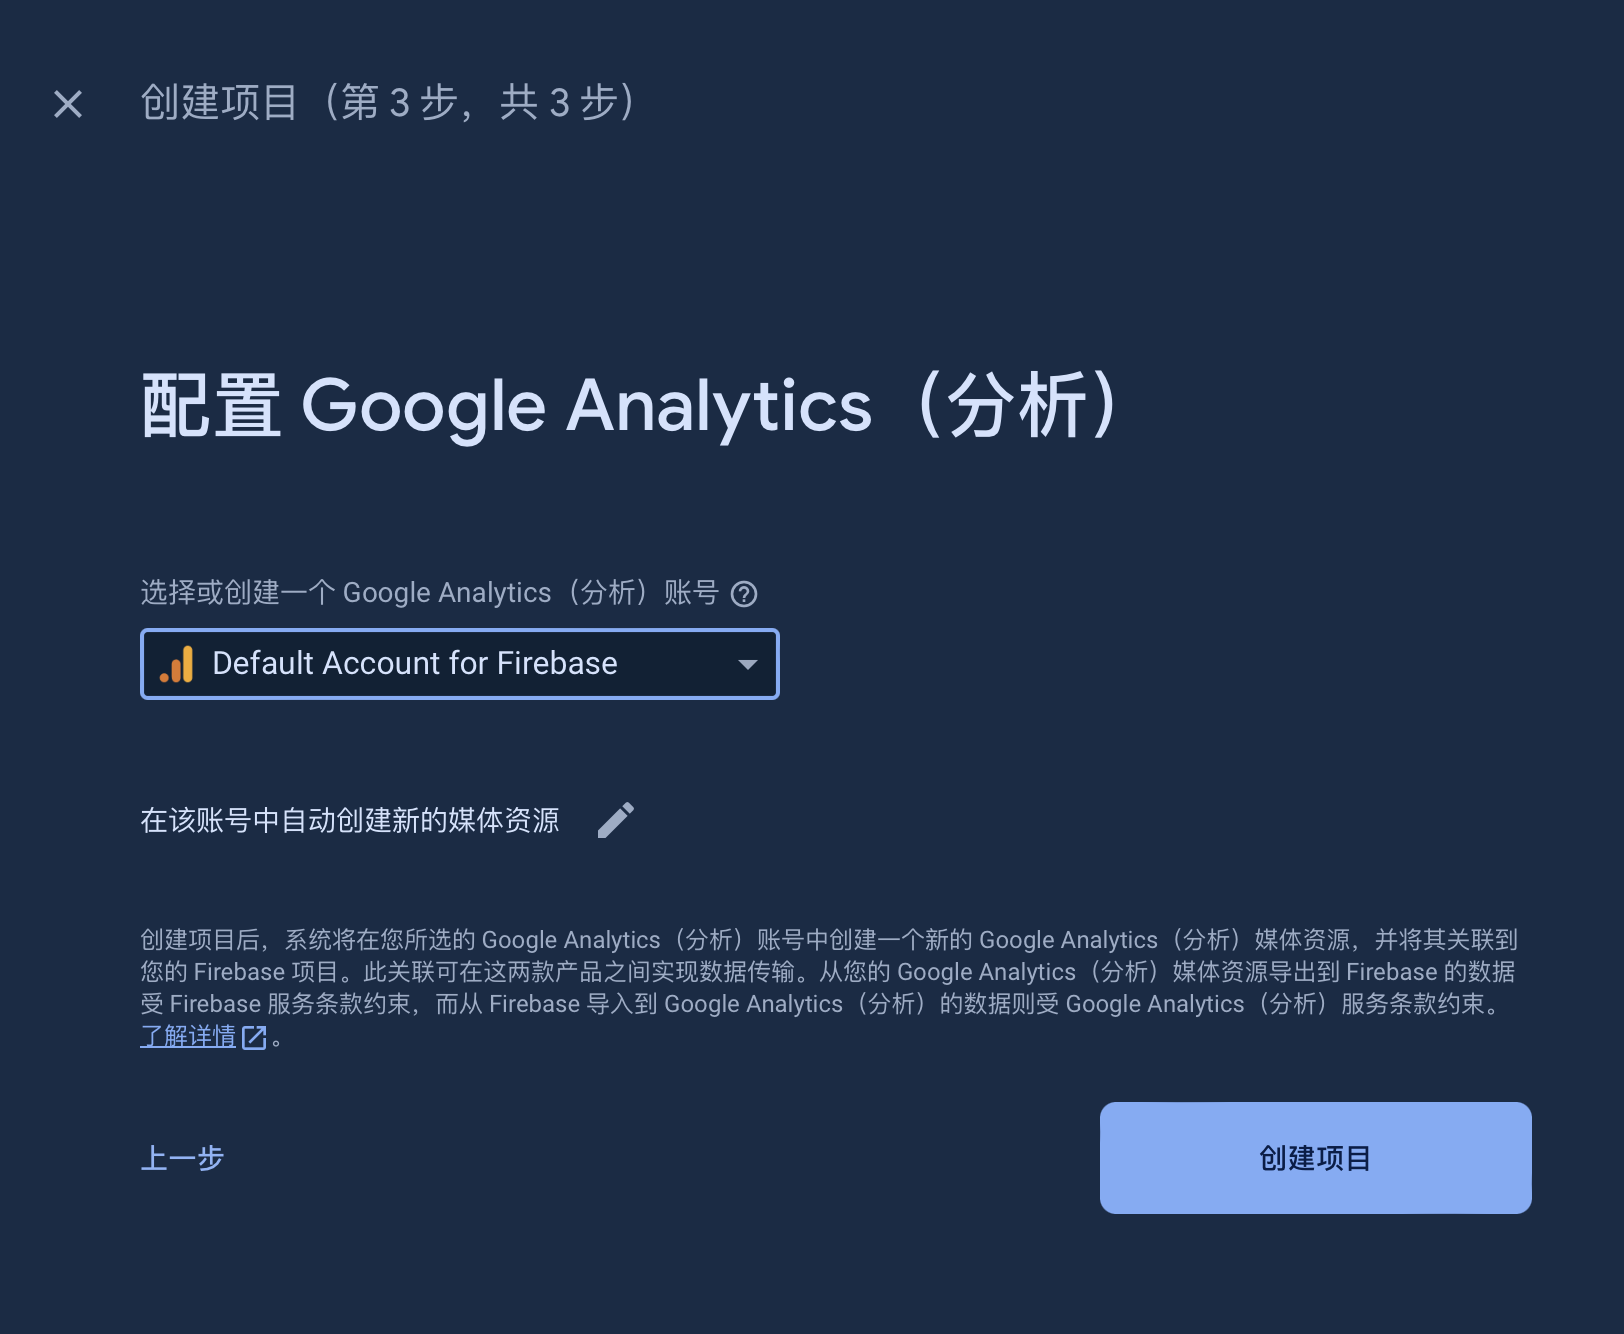
开启「为此项目启用 Google Analytics」

-
选择默认账号即可
-
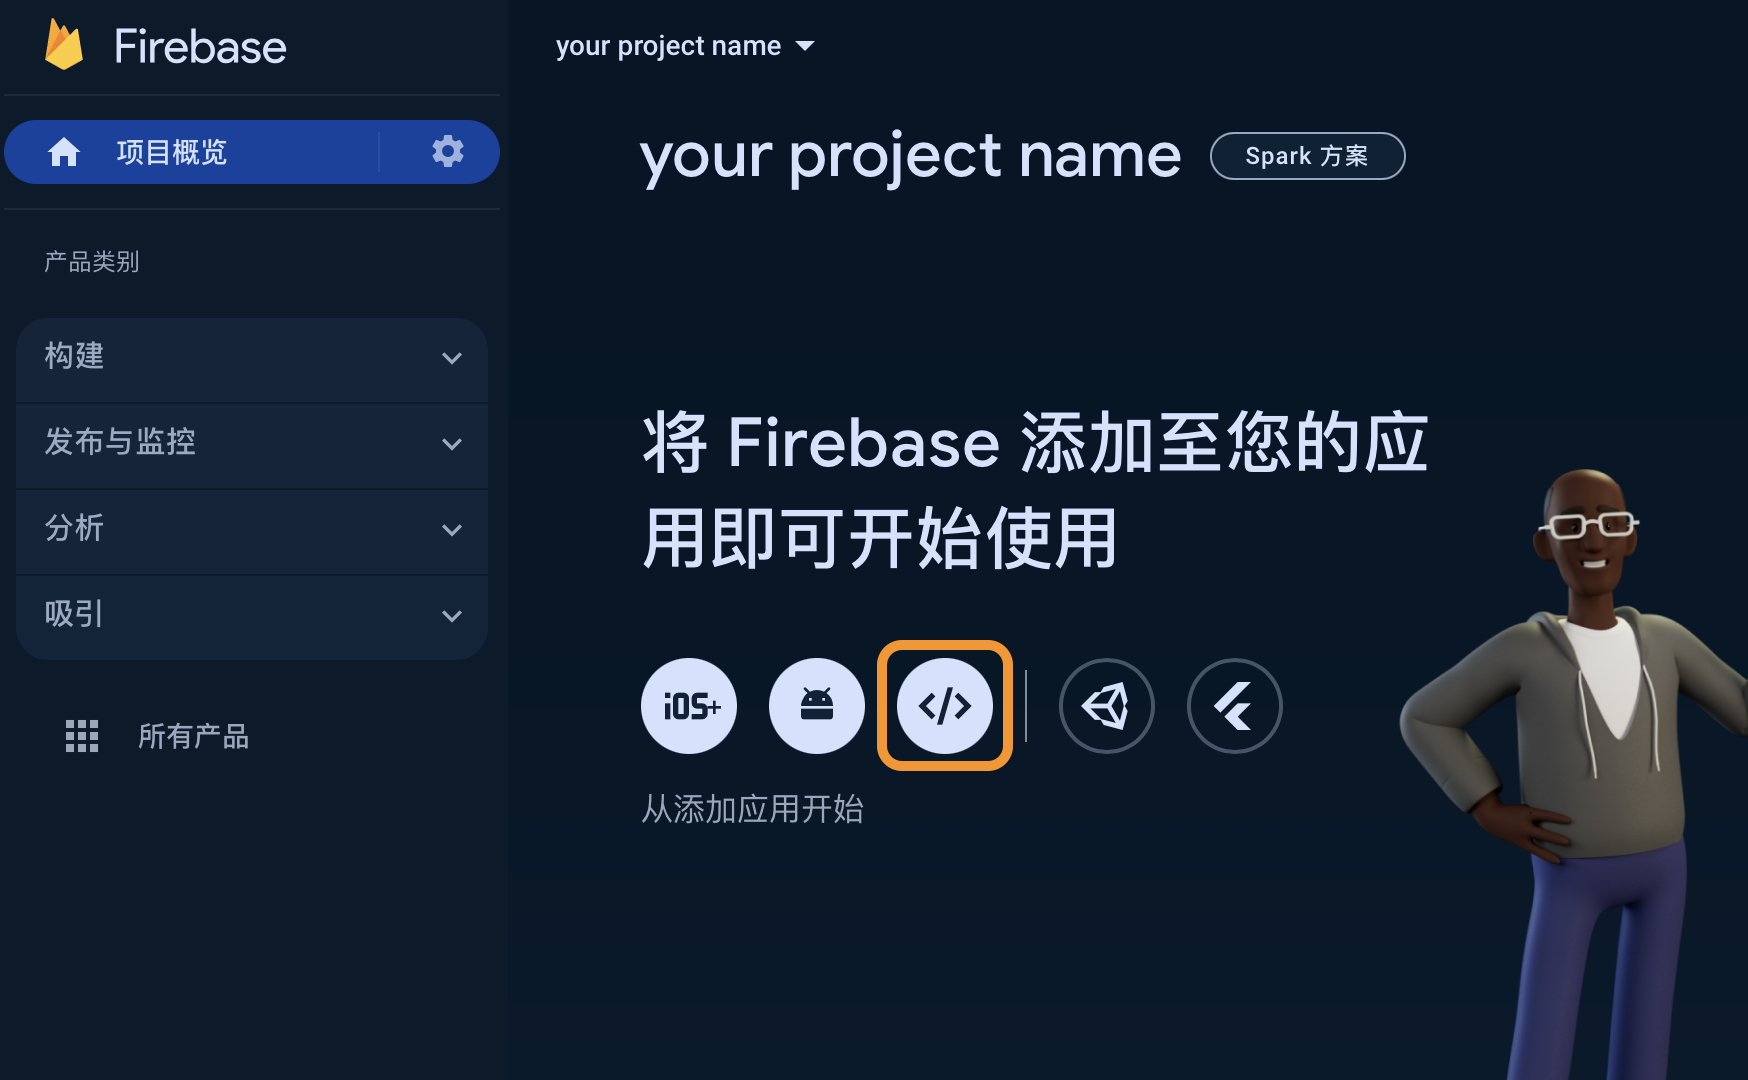
进入项目主页后选择 </>
-
输入你的应用名

-
选择「使用
<script>标记」, 并记录下 config 数据,如黄框所示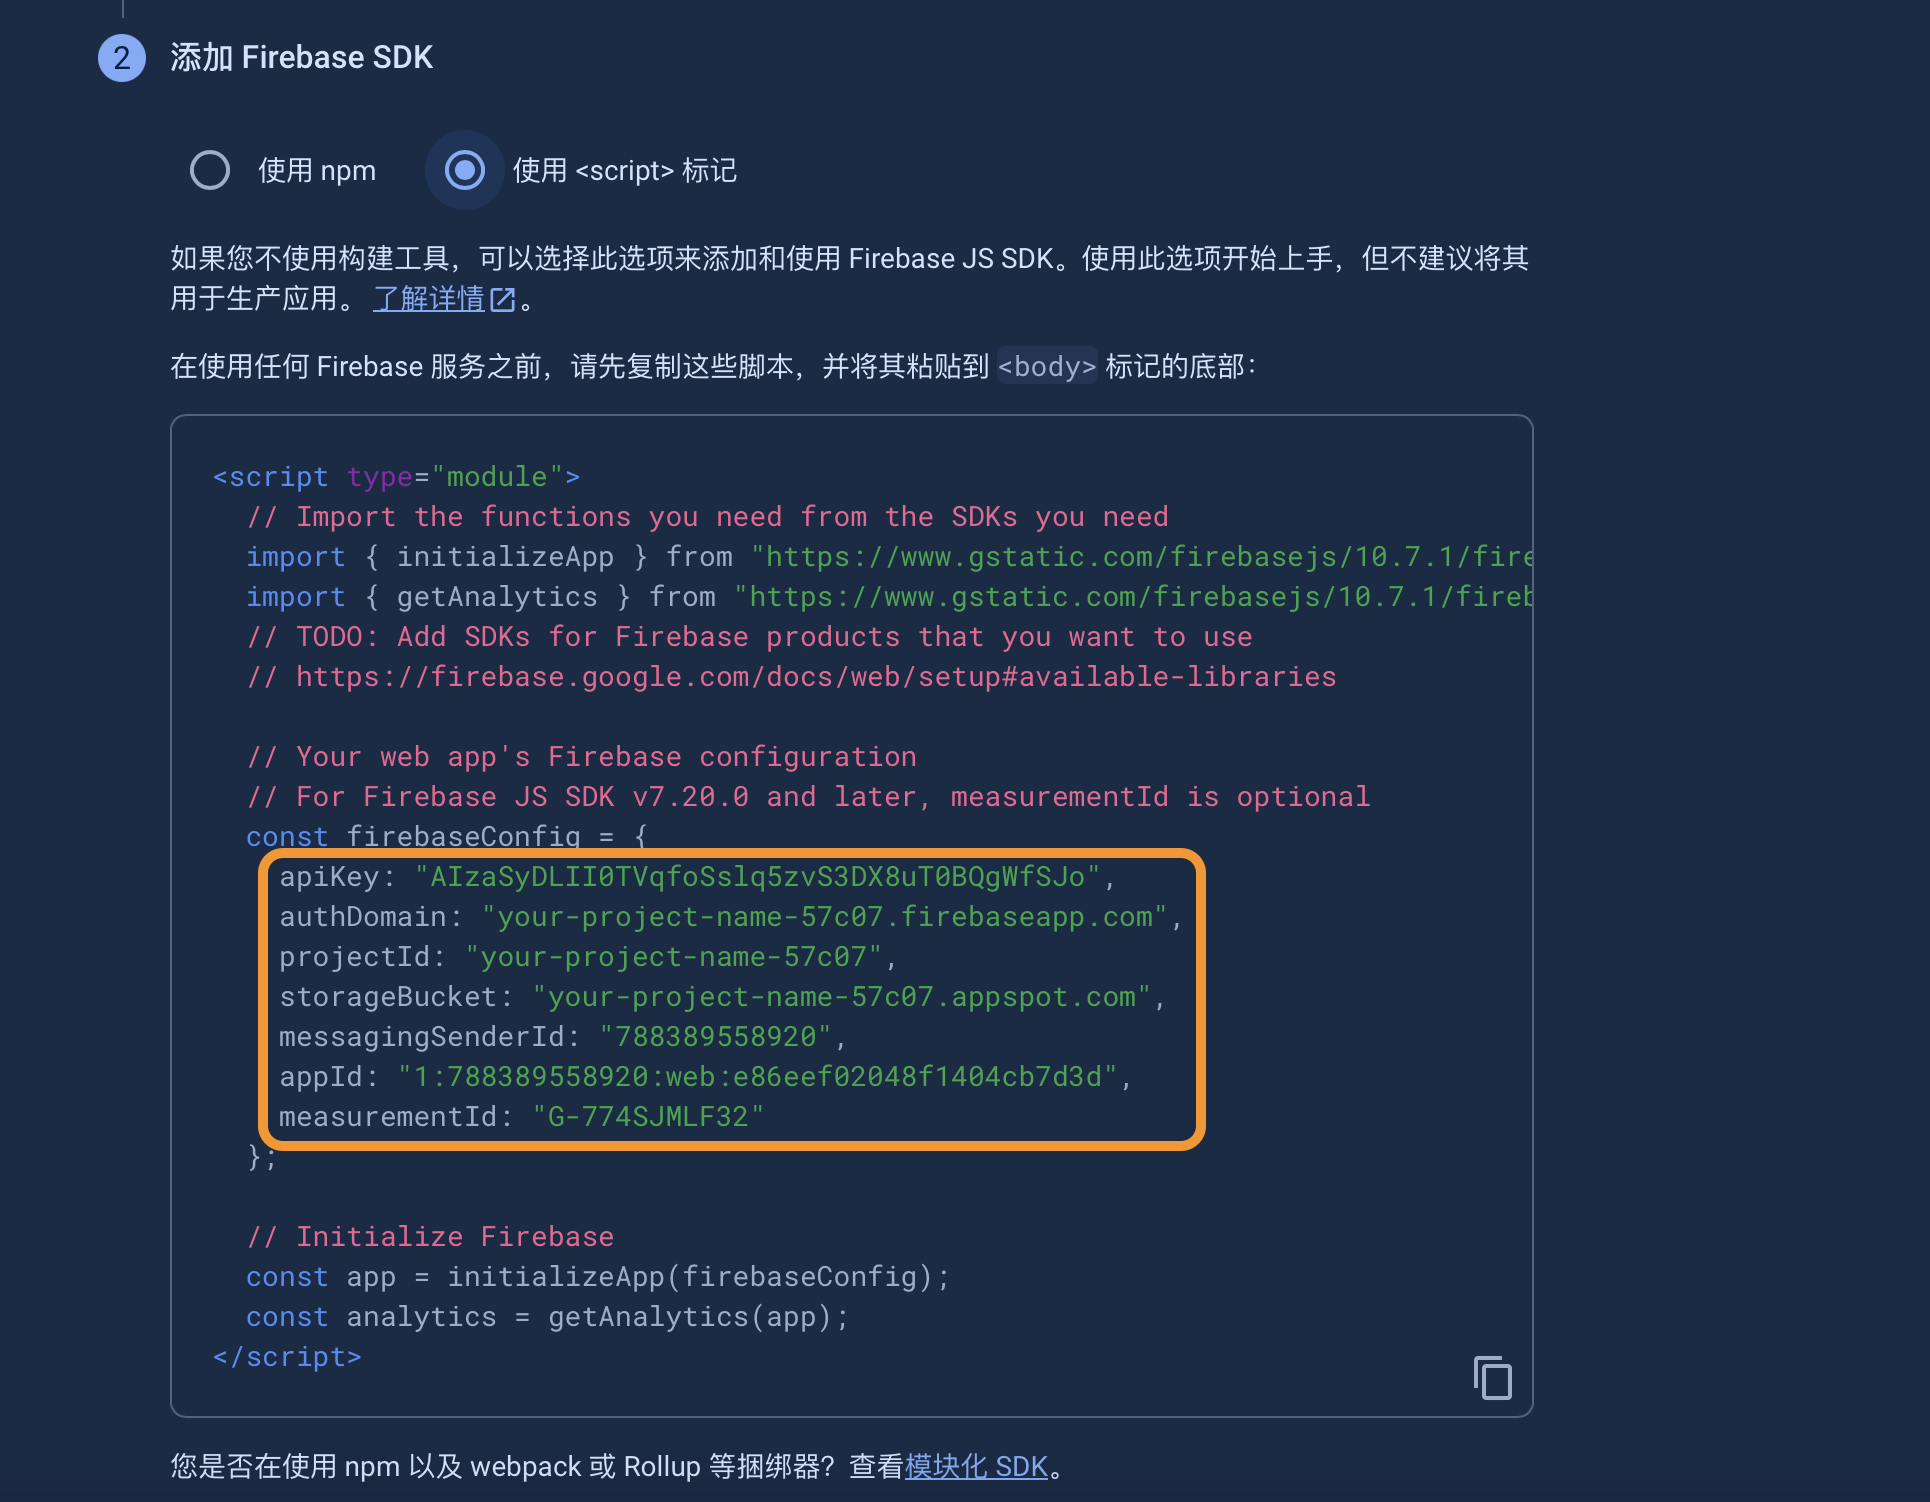
-
在
config/_default/params.toml文件中将上一步中的配置变量覆盖原配置# 实例,请替换为自己的数据 [firebase] apiKey: "AIzaSyB5tqlqDky77Vb4Tc4apiHV4hRZI18KGiY", authDomain: "blowfish-21fff.firebaseapp.com", projectId: "blowfish-21fff", storageBucket: "blowfish-21fff.appspot.com", messagingSenderId: "60108104191", appId: "1:60108104191:web:039842ebe1370698b487ca", measurementId: "G-PEDMYR1V0K" -
配置 Authentication
-
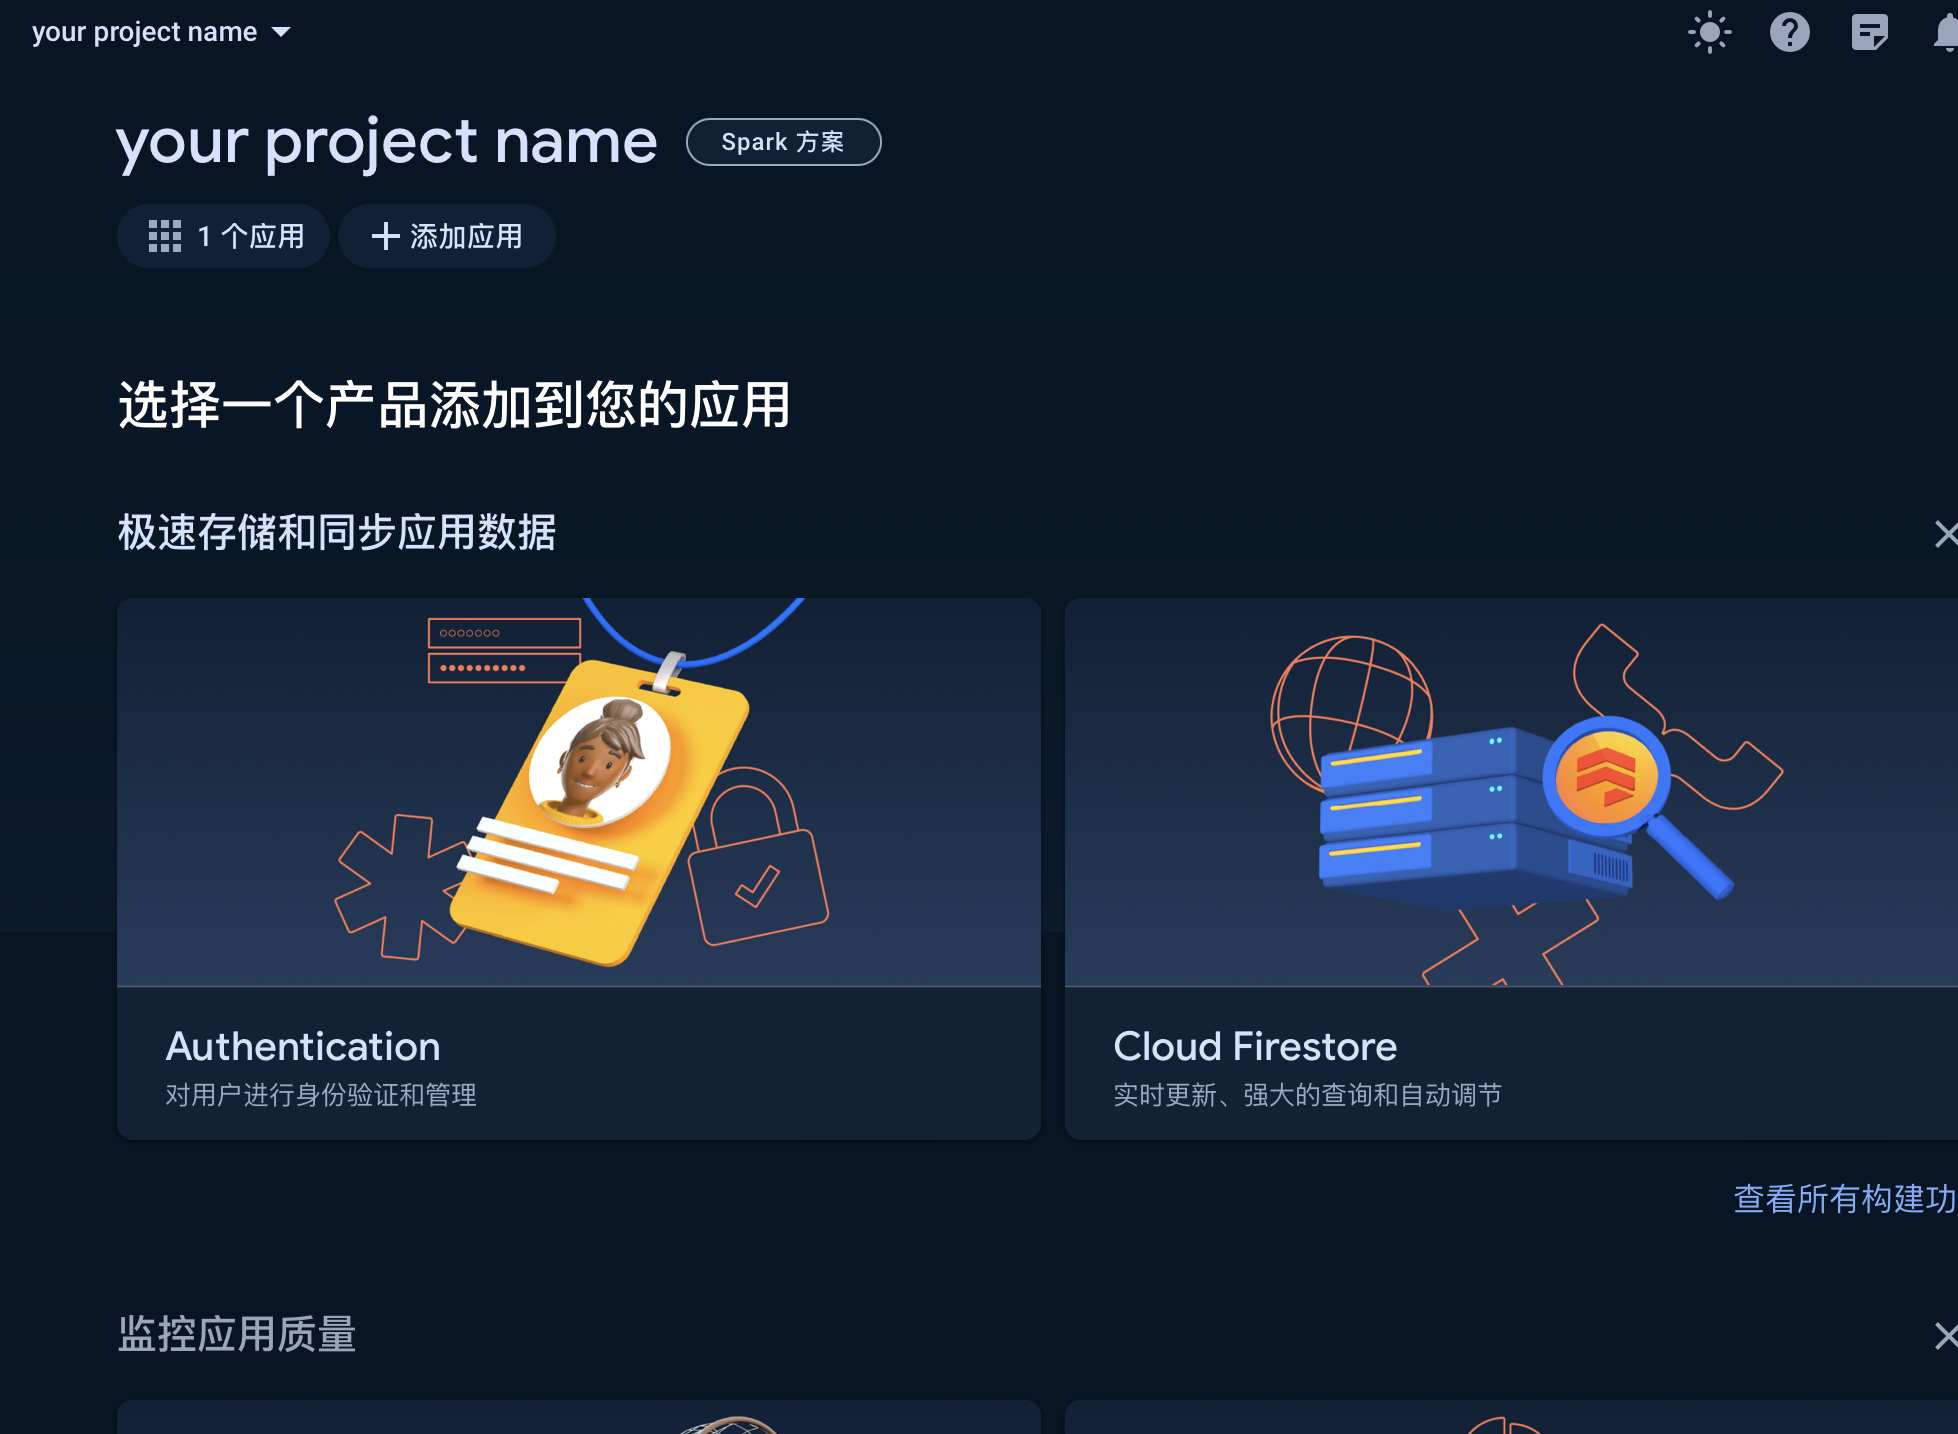
在「项目首页」或「侧边栏」中选择 Authentication
-
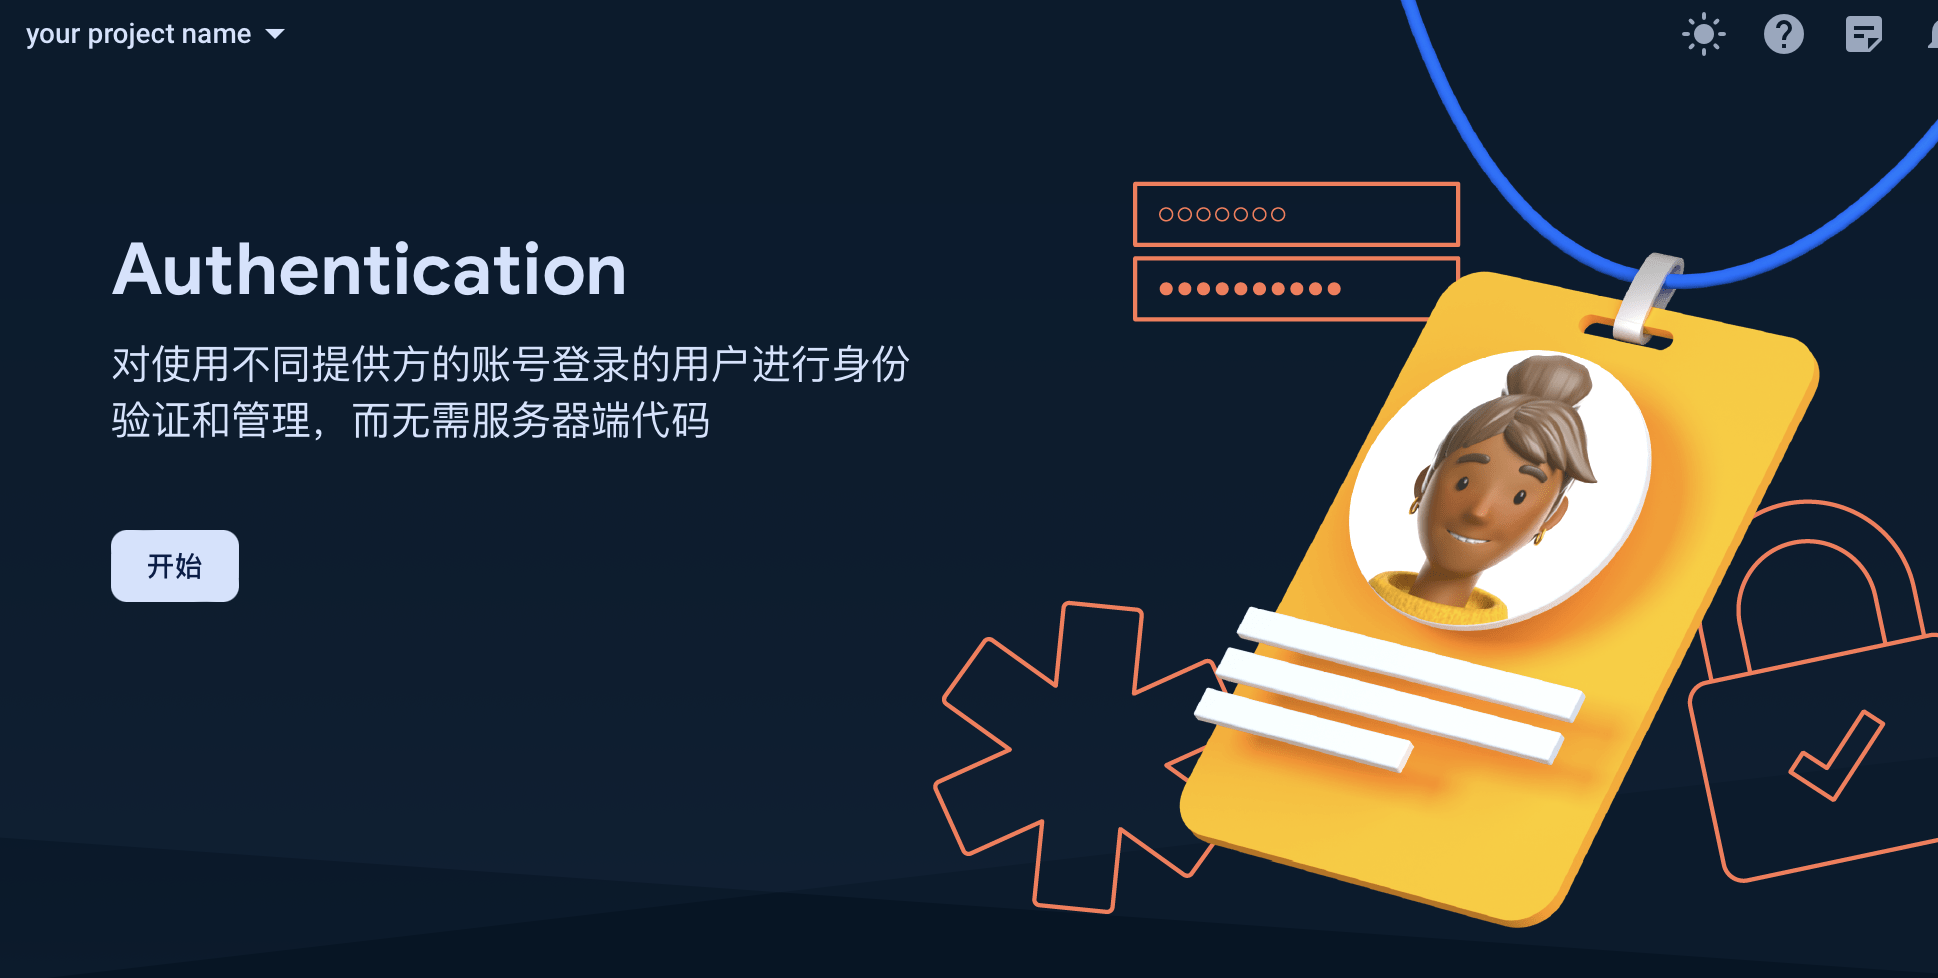
选择 开始
-
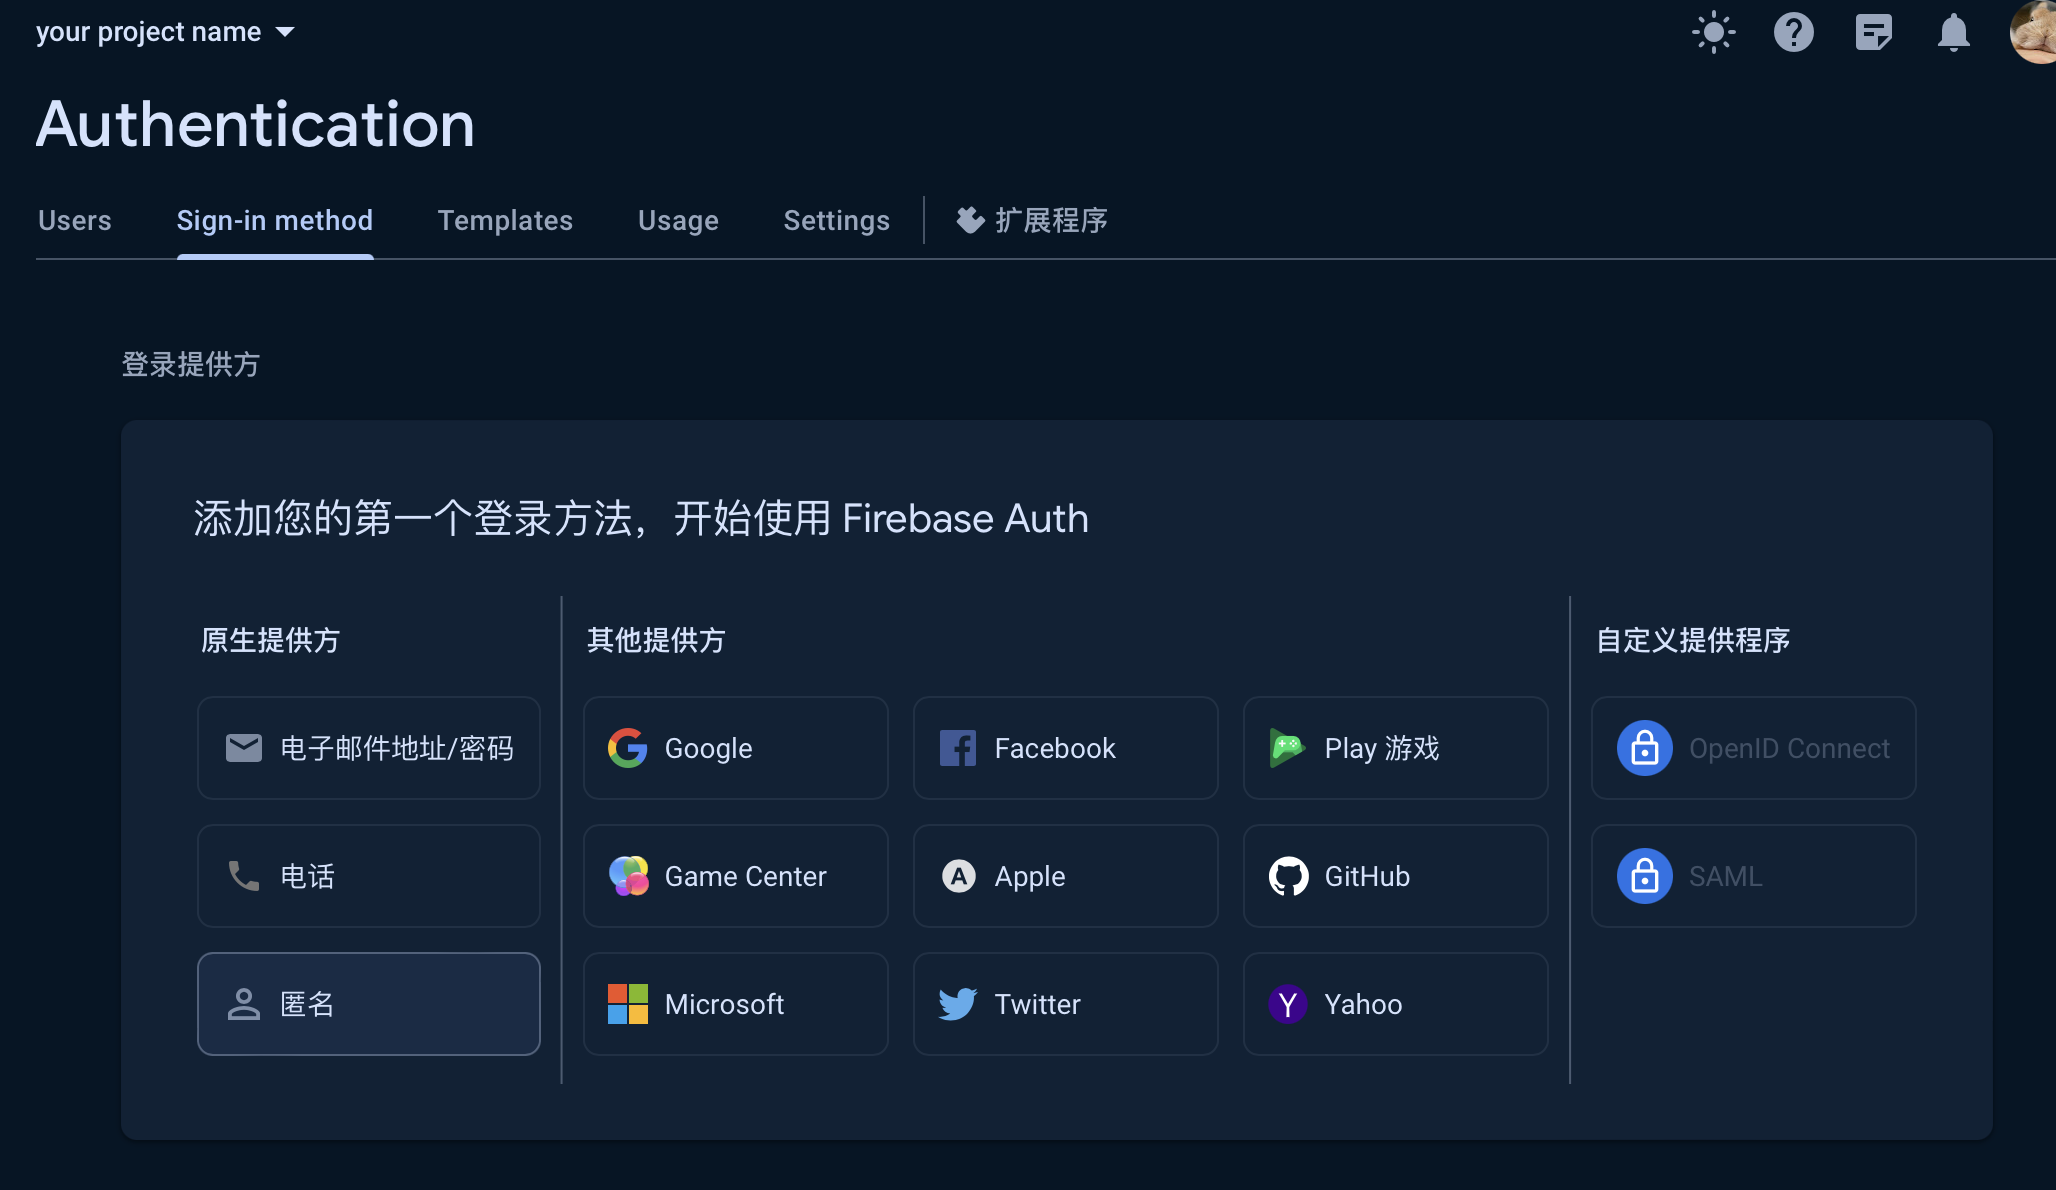
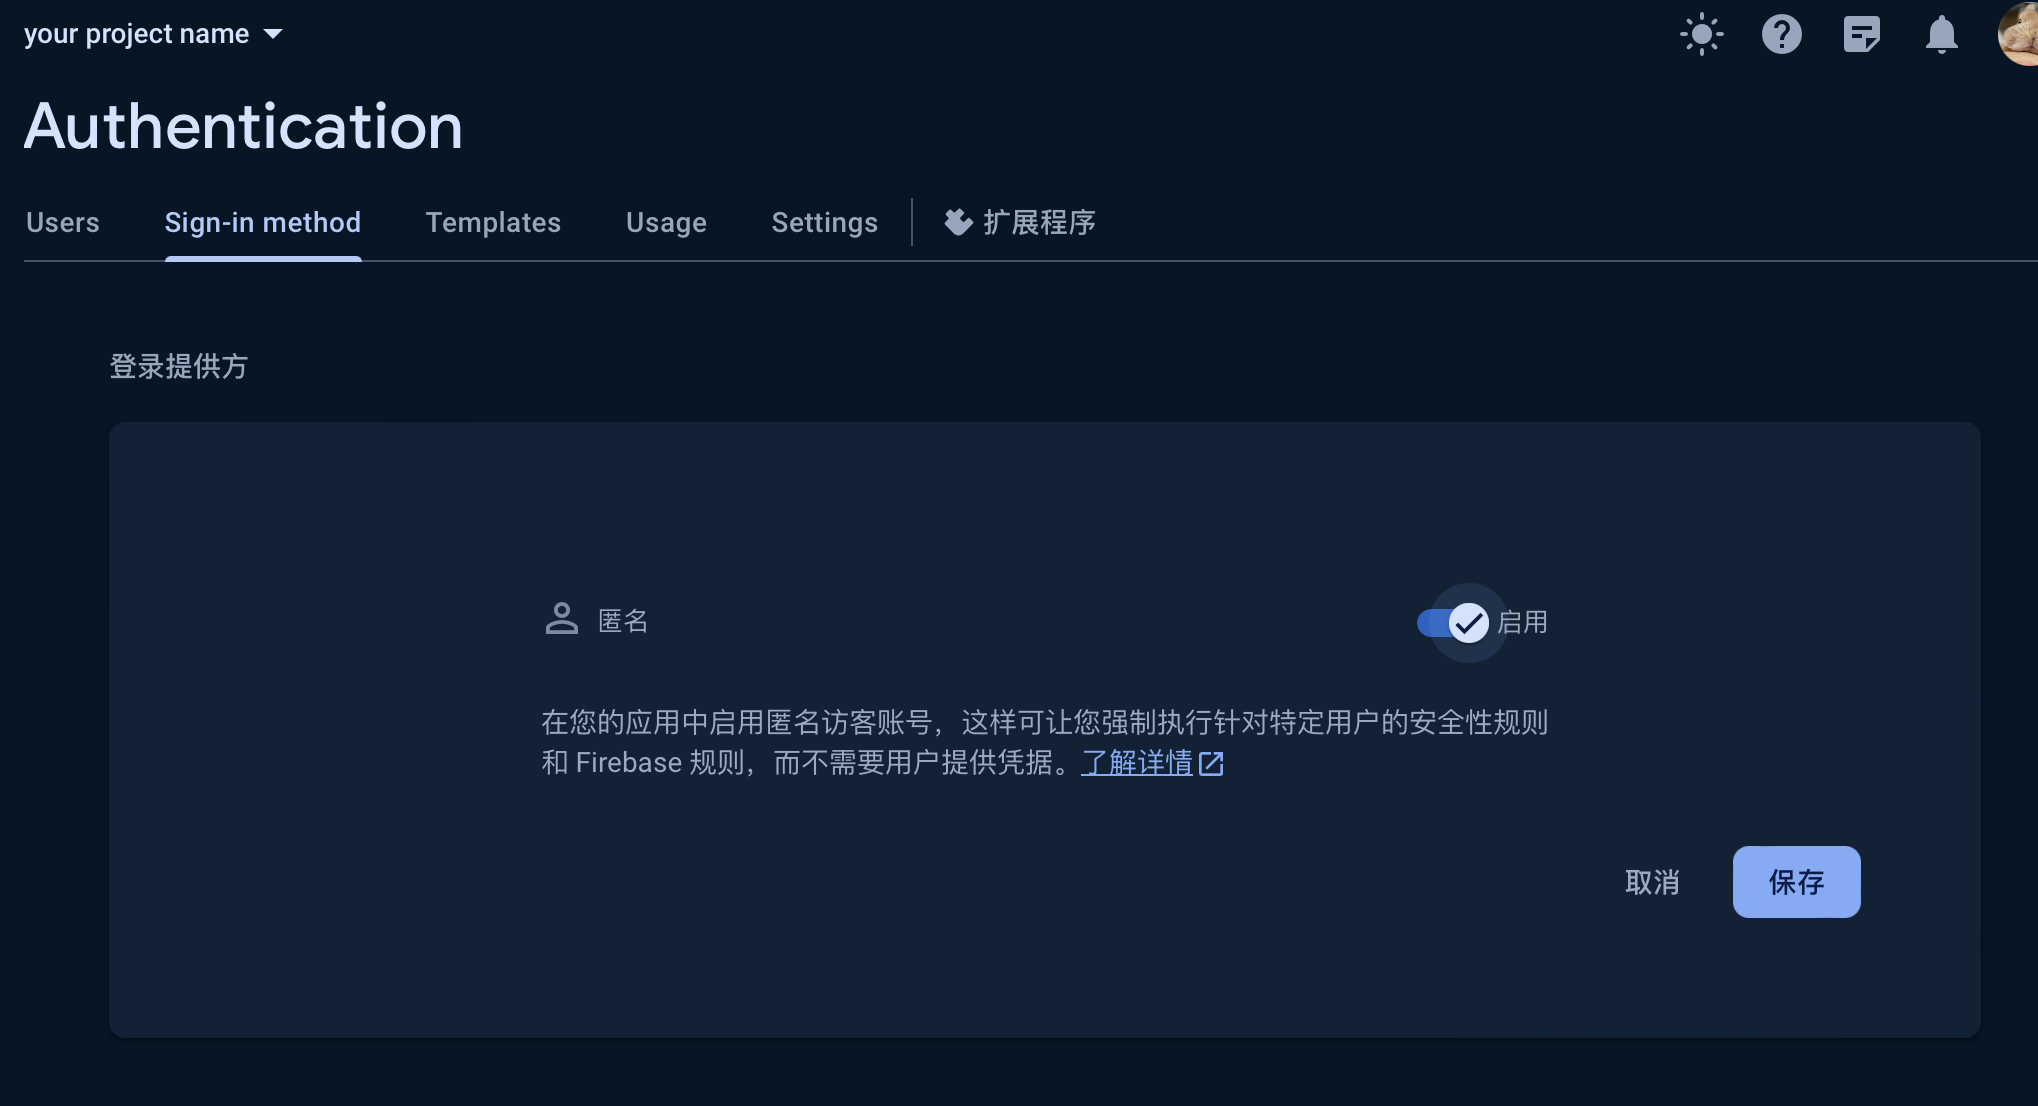
选择 「匿名」
-
启用匿名,并保存
-
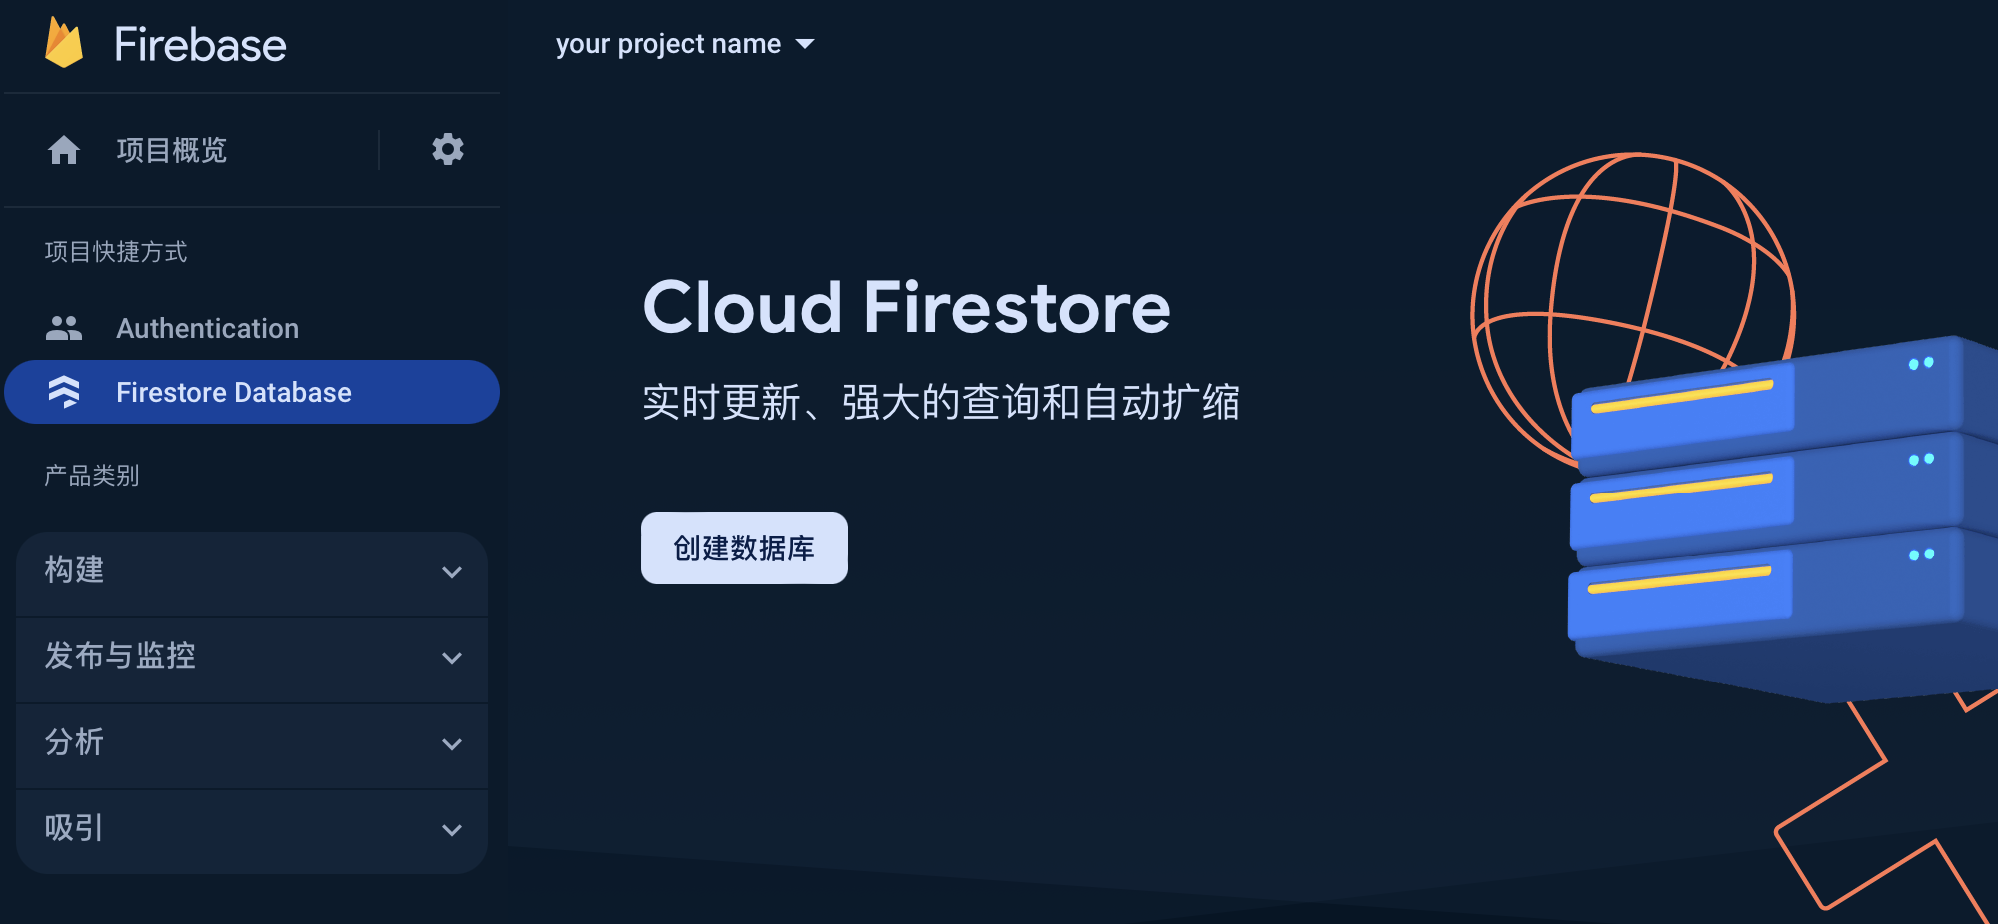
点击侧边栏, 选择「Firestore Database」,并点击创建数据库
-
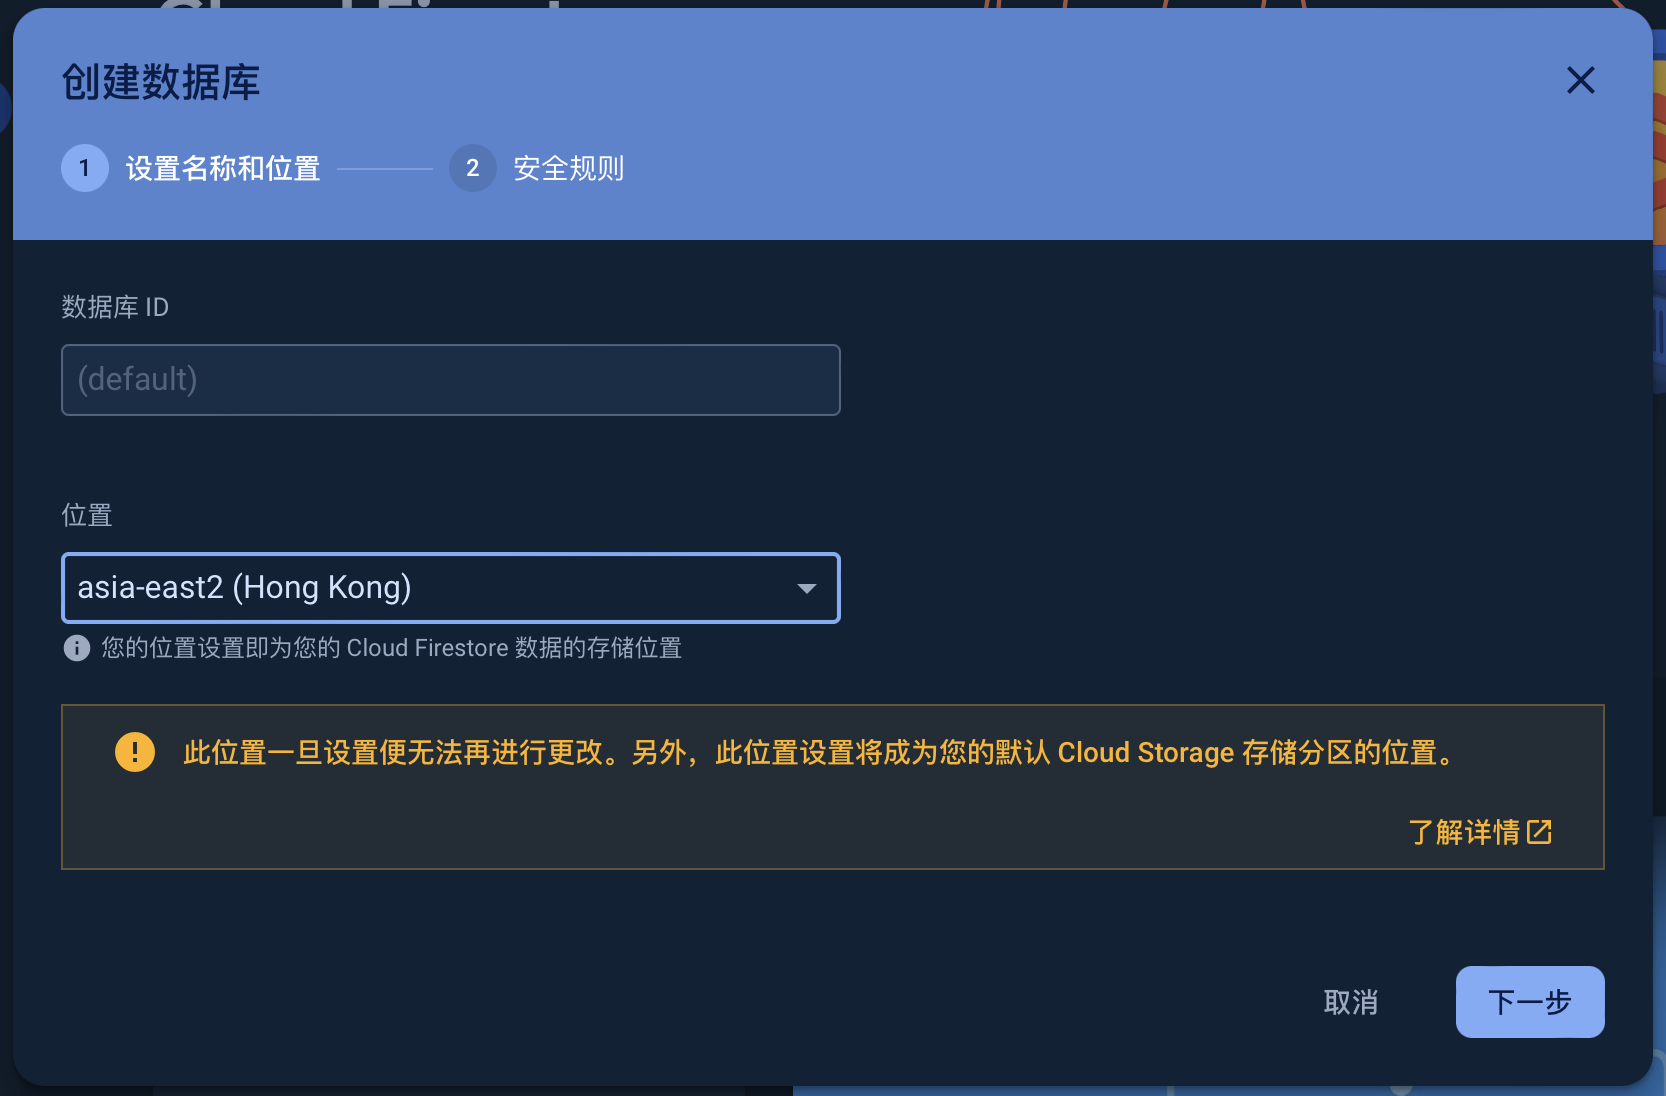
选择距离你为止较近的「位置」
-
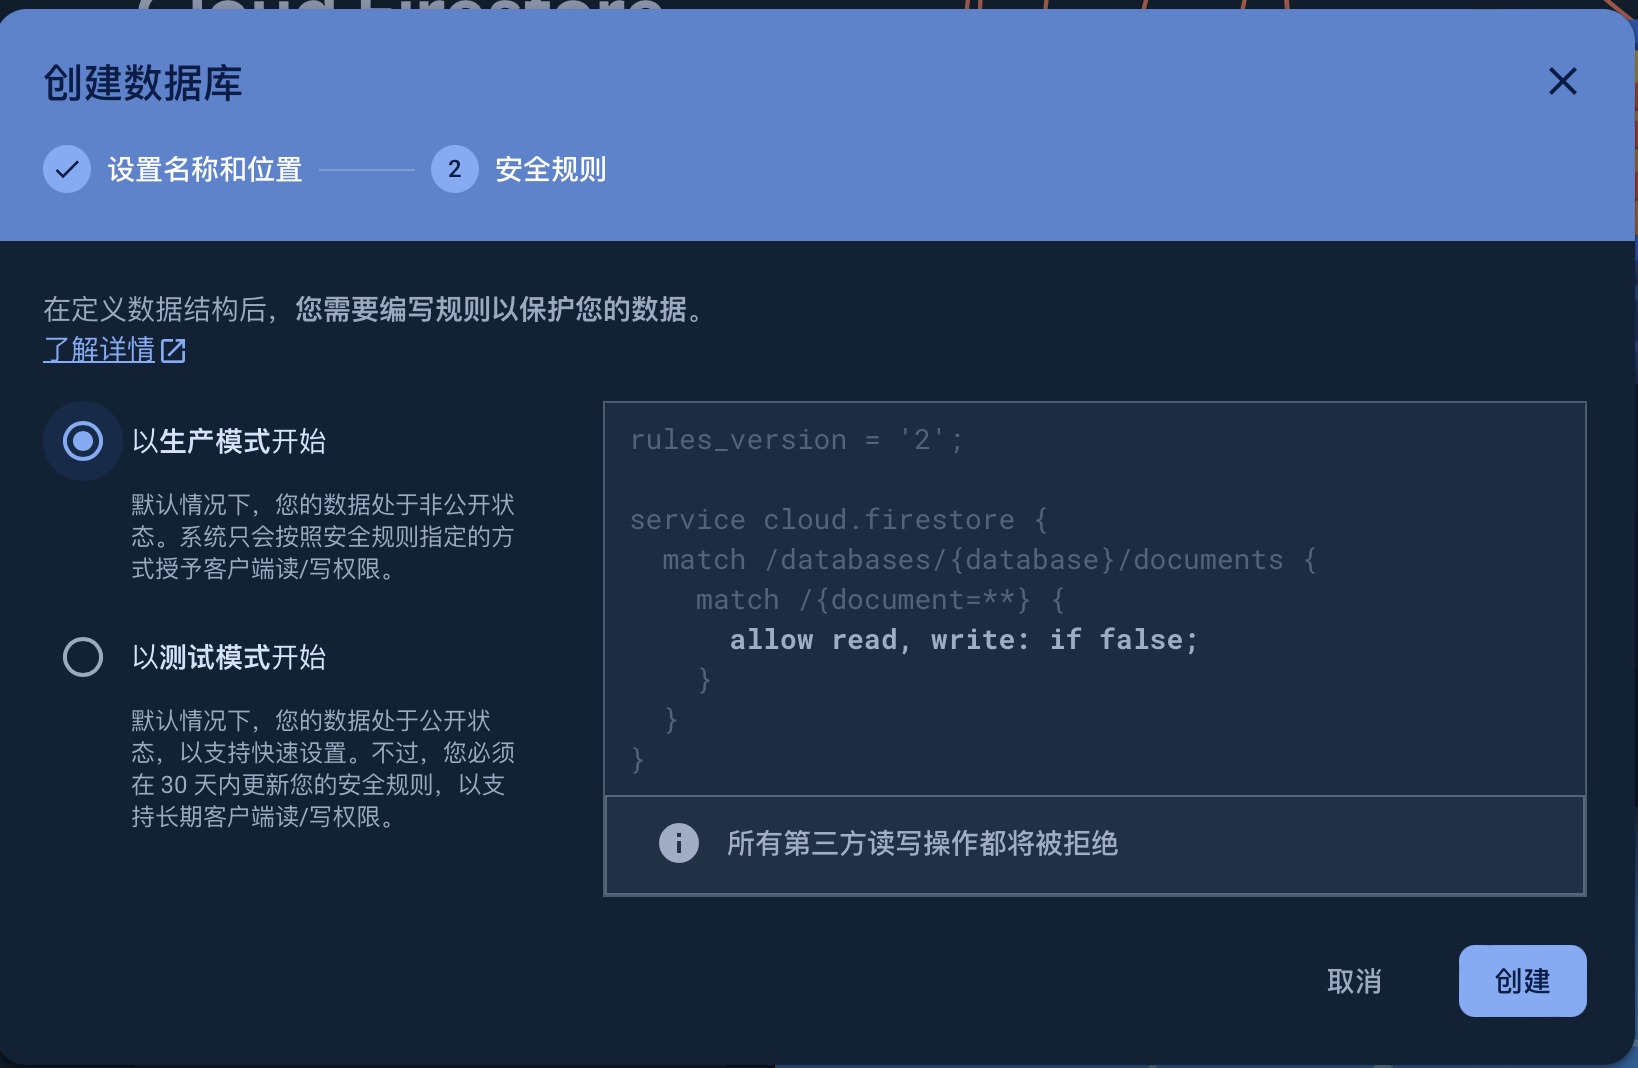
选择「以生产模式开始」,并点击创建
-
完成后,修改规则, 将以下内容粘贴进输入框中
rules_version = '2';
service cloud.firestore {
  match /databases/{database}/documents {
    match /{document=**} {
      allow read, write: if request.auth != null;
    }
  }
}
如果你之前已经将
showViews和showLikes设置为true的话, 现在阅读量和点赞量应该可以正常显示了. -